

 "The best camera is the one you have with you." That's a great statement by renown photographer Chase Jarvis.
And that statement was very real for me when I was in Haiti in Nov. Because of the heat, long days, and schlepping a water bottle everywhere I would go, I decided to leave my bigger DSLR Nikons in the states. Instead I took a simple point & shoot that would easily slide into the pockets on my cargo shorts.
I got a lot of flattering comments on the pics, and I must say, I was even very happy with them, even after being used to my $1,000 D90. Pics1, pics2, pics 3.
All the pics were taken with my 2006 Nikon Coolpix L6; a 6-mega pixel simple digital camera that sold for about $190 new.
Here are some simple tweaks you can make to your digital camera to get better pictures: (These are the settings I used. The pics above reflect these adjustments.)
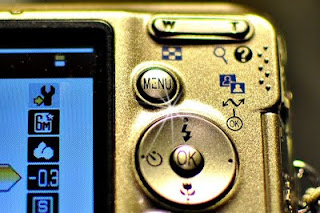
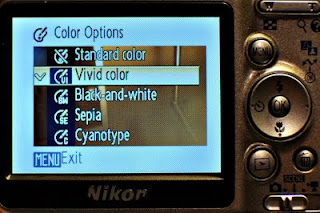
1.) Navigate through your "menu" button (or--GASP-- actually get out your manual) and change the default picture color to "VIVID." This usually punches up the colors nicely.
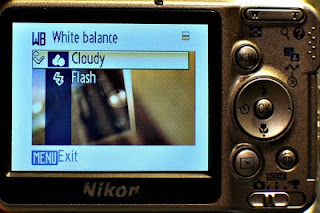
2) When shooting outdoors, always set the "white balance" to the "CLOUDY" icon. This warms up your pictures and adds a bit of amber to them. You'll love this tweak. (YES, even though there's an icon for sunny days, always use the cloudy icon outside, especially on sunny days. Try it.) Bonus tip: Try using your flash when shooting people on sunny days.
3.) If you notice that your pictures are just a little too light and you'd like them to be a bit richer or darker, adjust the "exposure" setting to "-3."
If you want take your pics the next step, download this great free image editor, Photoscape. Use it to "sharpen" your pics, punch up the "saturation" a tad, and add some more contrast. It also does other stuff like adding cheesy "lens flares" like the one I added in photo 2 above, among other things. Of course it crops, does black & white etc.
